I introduced the Hackintosh hardware tips in the first article. However, some software is required to configure, install, and run macOS on the Hackintosh. I used OpenCore. The other option is Clever.
The high-level configure procedure
- Prepare macOS image.
- Create bootable USB disk with macOS image.
- Edit EFI configuration on the USB disk.
- Install macOS on the hardware.
- Tuning.
However, you need to follow OpenCore official guidelines to prepare and install macOS. I only share my experience on Dell Inspiron 15-7569.
Helper Machine for the Hackintosh
OpenCore guidelines provide the tools on Windows, Linux, and macOS. I think the tools under macOS are most straightforward. So I suggest you have another computer to prepare the macOS image. Suppose you don’t have an Apple computer. You can create a macOS virtual machine on Windows 10. Following is what I used:
- Prepare a Windows 10 computer.
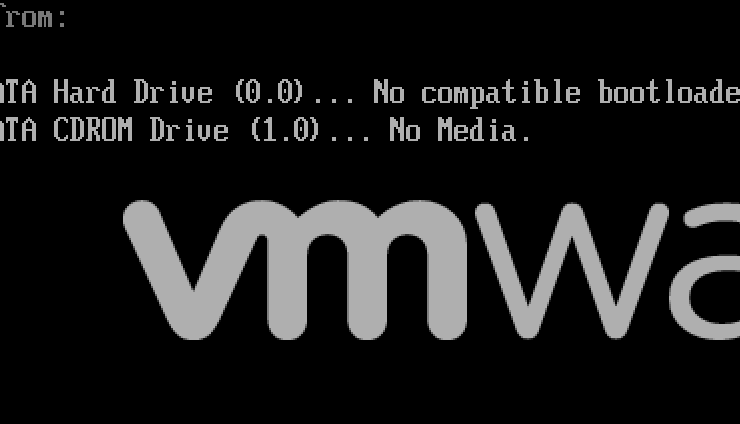
- Install VMware Workstation or VMware Player. The evaluation version is enough.
- Run unlocker 3.0.3 to enable macOS support on the VMware products above.
- Create a macOS VM.
- Download macOS image and install on the VM. (This article offers some images that can be used directly on VMware Workstation. I didn’t test it. But the guide is also helpful.)
I recommend downloading the Catalina or older macOS version for the virtual machine since it is more stable. And another trick is you need to install VMware Tools on the virtual machine twice after install macOS.
Tools
Once the virtual machine is ready, you need to download and upload the following tools to it:
- MountEFI. It’s a tool to mount the EFI partition.
- OpenCore. It’s the core part to boot up macOS on non-Apple platform. It simulates the Apple hardware environment.
- ProperTree. It’s used to edit the configure.plist file.
- GenSMBIOS. It generates fake Apple serial number, board id…etc.
- IORegistryExplorer. It’s useful to list graphic card on macOS for troubleshooting purpose.
- installmacos.py. It downloads the official images to macOS.
Configuration
Now you have enough tools to start the actual works. I would suggest you follow the OpenCore official guidelines. Since it contains the detailed steps, I mentioned below. Following is the high-level procedure I used:
You should complete the following steps on the helper macOS virtual machine.
- Download macOS image. I used to see some newer versions of Big Sur that could not complete the installation progress. If it’s the case, please choose a lower version.
- Format a USB disk to the Mac OS Extended (Journaled) format.
- Create the USB bootable installer with the downloaded image.
- Mount EFI partition of the USB disk.
- Create a folder called EFI in the empty EFI partition you mounted.
- Copy OperCore files over to the EFI folder.
- Add, remove, and modify the files in the EFI folder according to the OpenCore official guidelines.
- Edit the “config.plist” file in the EFI folder according to the OpenCore official guide.
Installation
Now you should be able to install macOS on the Hackintosh with the USB disk.
Please make sure the partition is APFS when you format the local disk. Otherwise, macOS installation may be in problem.
Please leave some space to install Windows 10 if you can. It will be beneficial for macOS issues in the future.
You may want to use an external keyboard and mic if it’s a laptop. The reason is the laptop keyboard and touchpad may require additional tuning. You can do that later after installed the macOS.
If everything goes smoothly, you should be able to see the login screen after several reboots.
Post Installation Tuning
The installation is not the end of the Hackintosh game. You still need to tune the macOS as much as possible to works as an actual Mac. Even it’s a Hackintosh. 🙂 Following is my experience:
Apple’s unique features
- Play DRM content. Such as Apply TV+, High quality lossless music in Apply Music, Netflix or Amazon in Safari…etc. It doesn’t work if your computer only has embedded GPU (iGPU). And it only works well on AMD Dedicate GPU (dGPU, the secondary GPU on your computer). You may need to follow the commands I mentioned in the part I to enable it.
- AirDrops, SideCar, and Apple Bluetooth features (Such as AirPod Pro). You need a compatible wireless card to enable these features. The card with different part number (PN) may not work on some computers. For example, my laptop is Dell Inspiron 15-7569. I bought an DW1820A. The bluetooth worked but wireless never worked. According to the community, the only work version is DW1820A with PN: CN-08PKF4. Then I returned the first card and bought another one with the correct PN, it worked just fine. People says that driver is not required for compatible wireless card. This is inaccurate. You actually need to follow OpeCore guidelines to install 3rd party driver.
Common features
- Sound Card. You may see no sound card in the macOS settings. Therefore, you need to follow the guide to find out your sound card’s ALC and try the layout id one by one in the boot arg section in configure.plist file. It spent me a lot of time to identify ALC of my sound card. Following is my experience:
- Find your sound card’s vendor id (VEN), device id (DEV), and subsys id (SUBSYS) in device manager -> Properties of your sound card -> Detials -> Device instance path on Windows 10.
- Search the combination of VEN and DEV. For example: Dell Inspiron 15-7569’s sound card is customized. It’s hard to find the actual Codec. I found the VEN 10EC, DEV 0225, SUBSYS 1028073 in the devce manager on Windows 10. I searched 10EC0225 in this file. And then try to match the SUBSYS in results. And found out the codec is ALC3234.
- Found the codec in the AppleALC list.
- You should see there are few or a lot of layout ids for your codec.
- Now you need to test each id by following “Testing your layout section” in OpenCore.
- Be patient! I tried a lot of ids for my codec, and one time I was about to gave up. But suddenly one ID was working!
- TouchPad and Mic on laptop. The OpenCore official guidelines have enough information for this. However, The trick is you need to decide are your TouchPad and Mic a PS2, USB, I2C or something else. It really confused me. My workaround to identiy it is to go to BIOS setting to check. My laptop has a keyword “PS2” in the TouchPad setting.
That’s all I have at this moment. I didn’t provide detailed procedures since everyone’s hardware is different. However, the high-level processes may bring you some ideas about the whole picture of Hackintosh. Good luck and have fun!!!